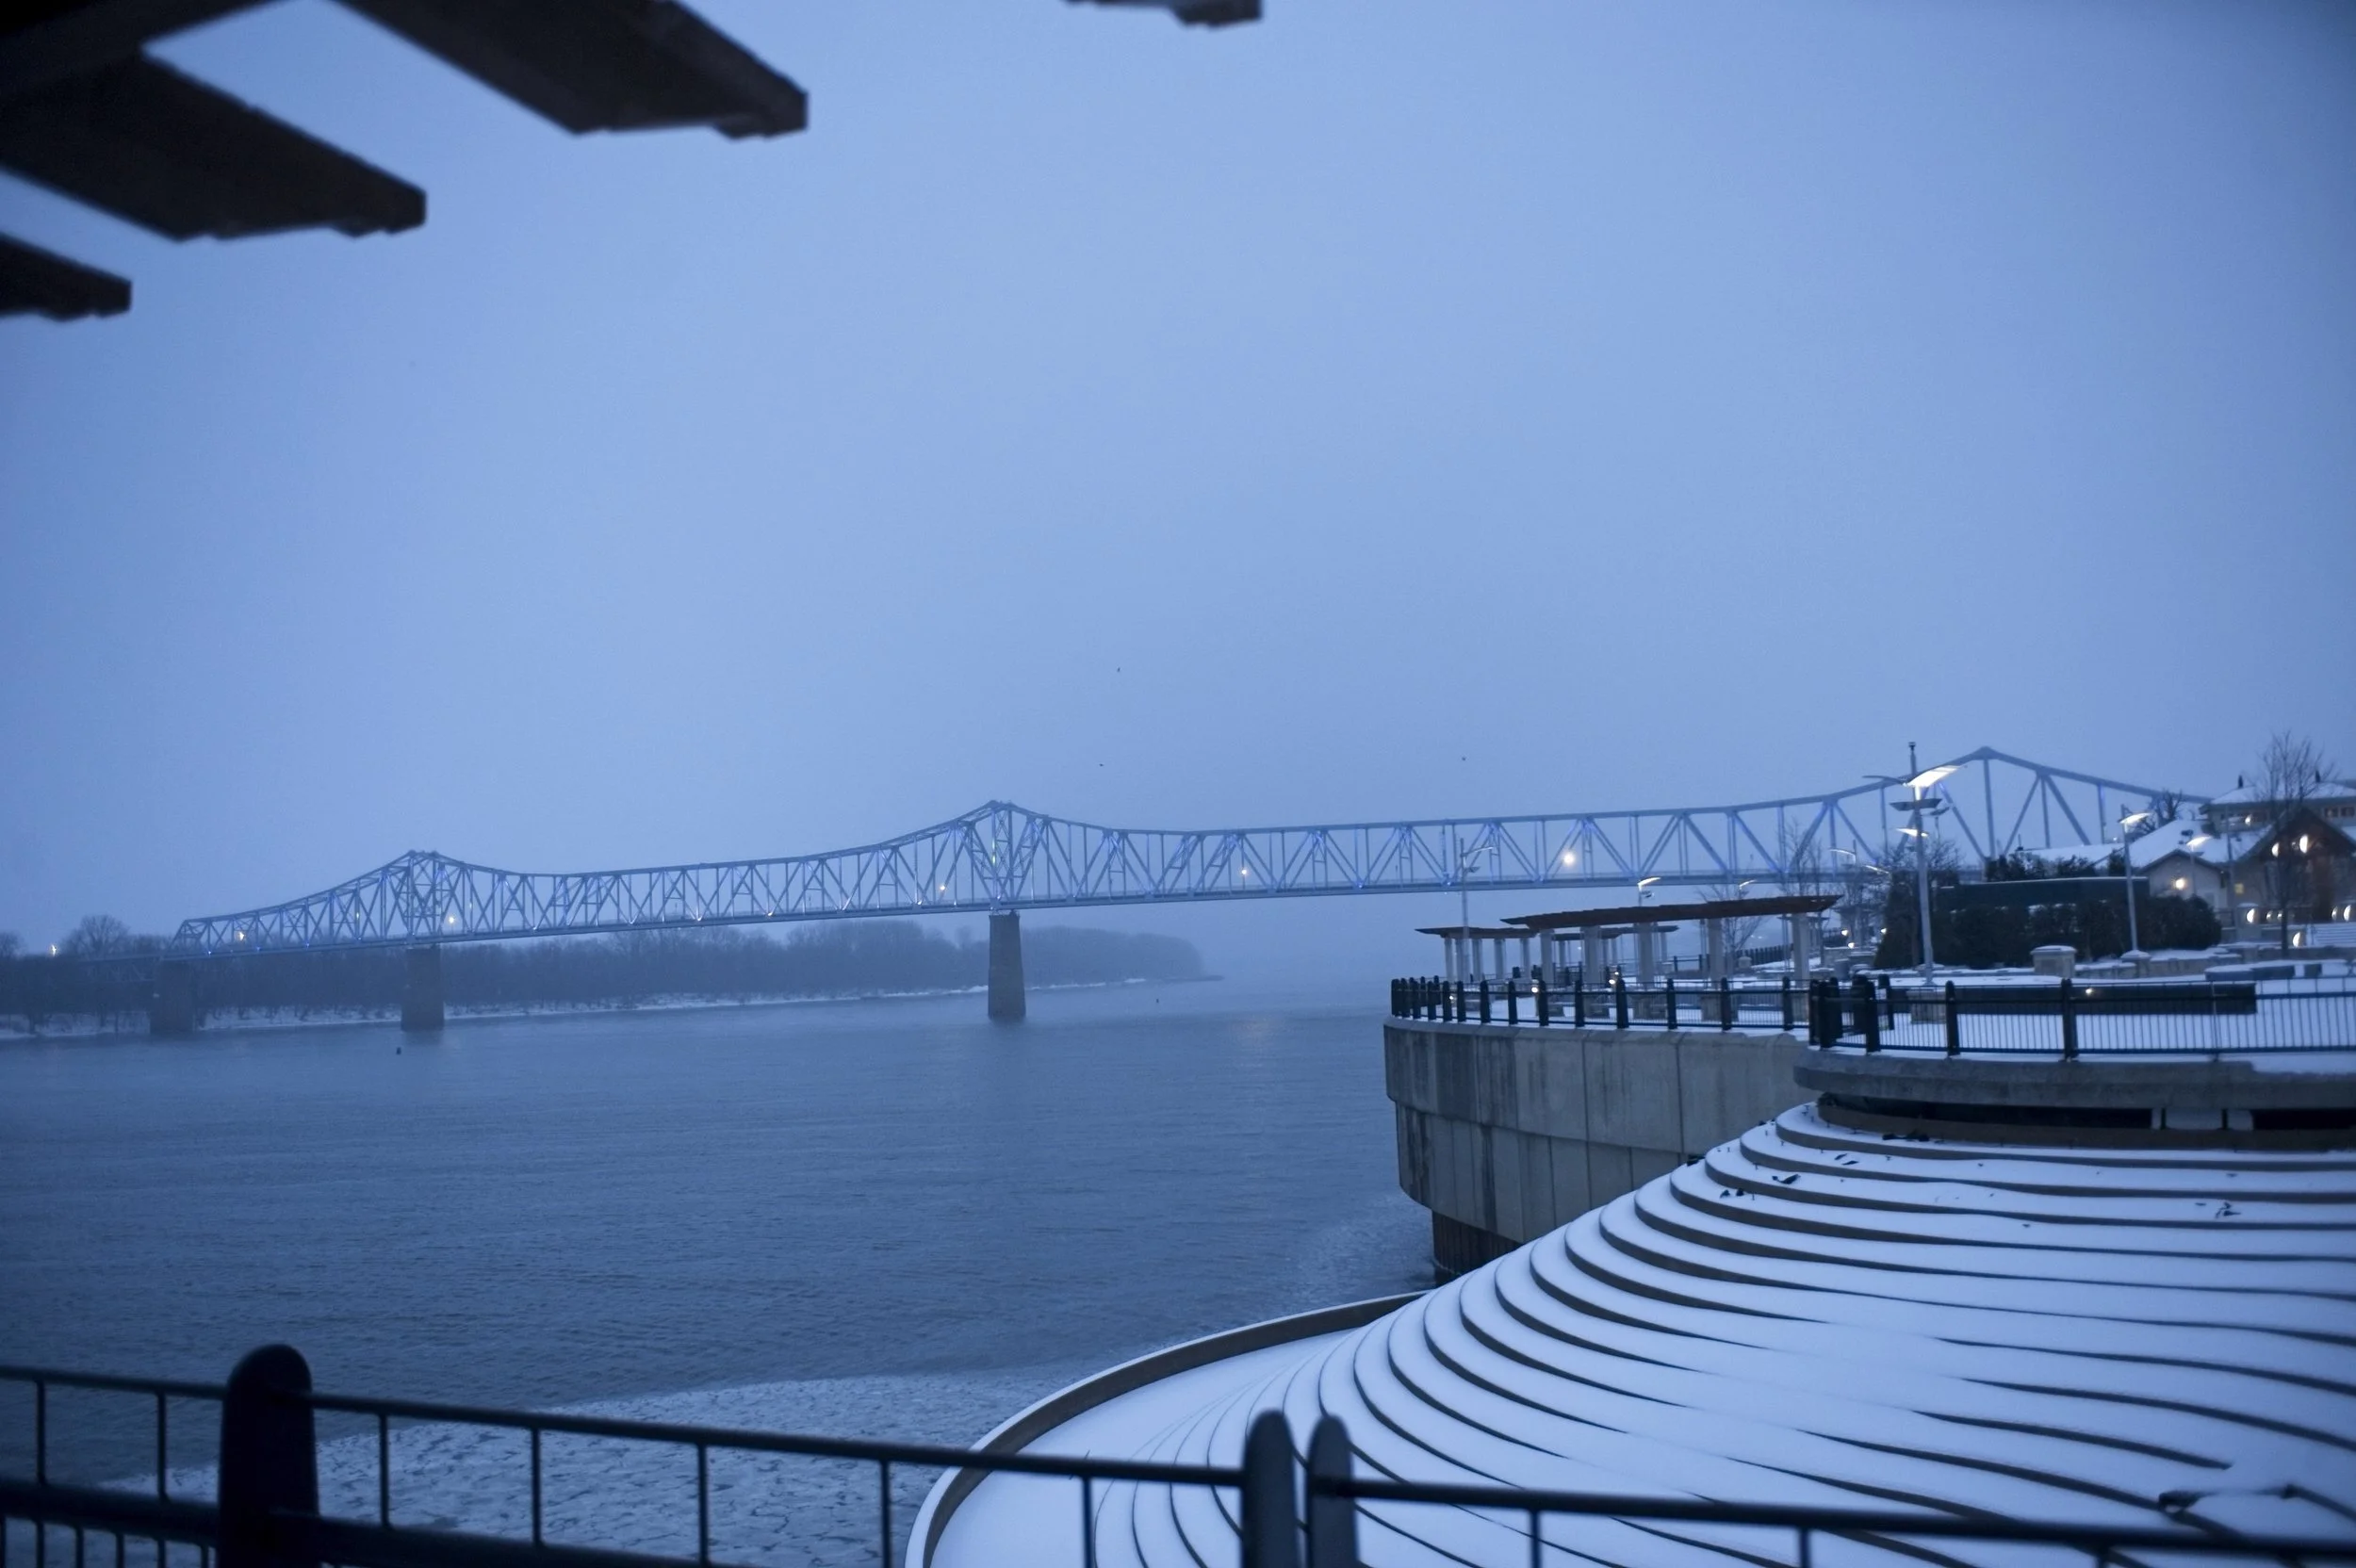
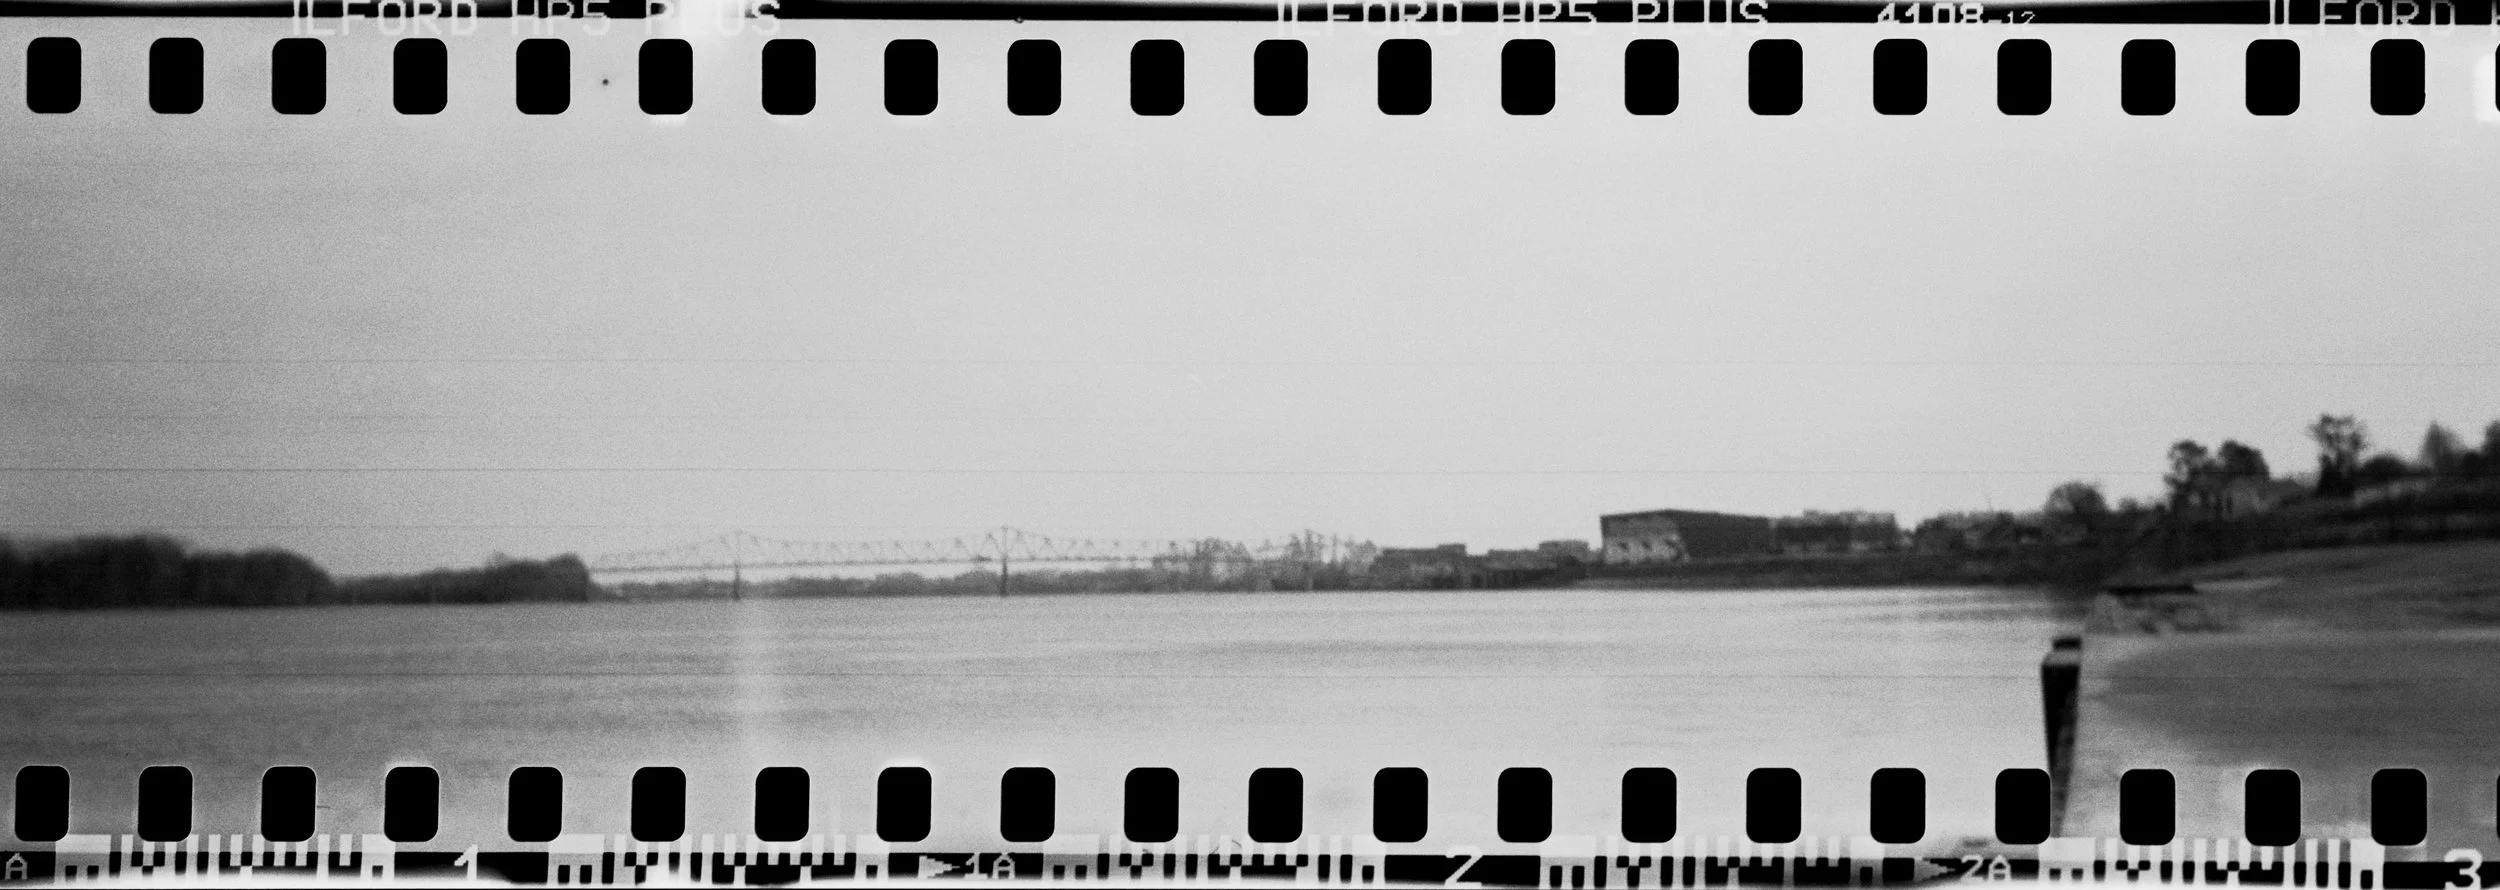
One afternoon William and I were taking his graflex out to shoot some monster 4x5in negatives of the bridge. We wanted something easy, not moving, the golden hour was closing in and we managed to wiff both frames. A large format camera has film holder that I call a frame since some larger and older ones look like wood picture frames with a large metal sheet called a dark plate that you remove to shoot your film. Well the first shot was done and as william was sliding the dark plate back in you can hear the film crunching into the dark plate and its just a write off even if we got the dark plate in the film was already ruined. A lot of frames have two sides so while he was flipping the frame and readying his second shot I found a hand rail with 80 or 90 locks hanging from it so I took a detail shot of the locks with the bridge in the background a simple but nice image. As william was readying his next shot we were talking about the people that the locks belong to when we saw a couple come over and start looking at the locks and I snapped an image of them trying to find the lock they had left there. I dont think they found their lock that night but below are the images in the order that they were taken that night.
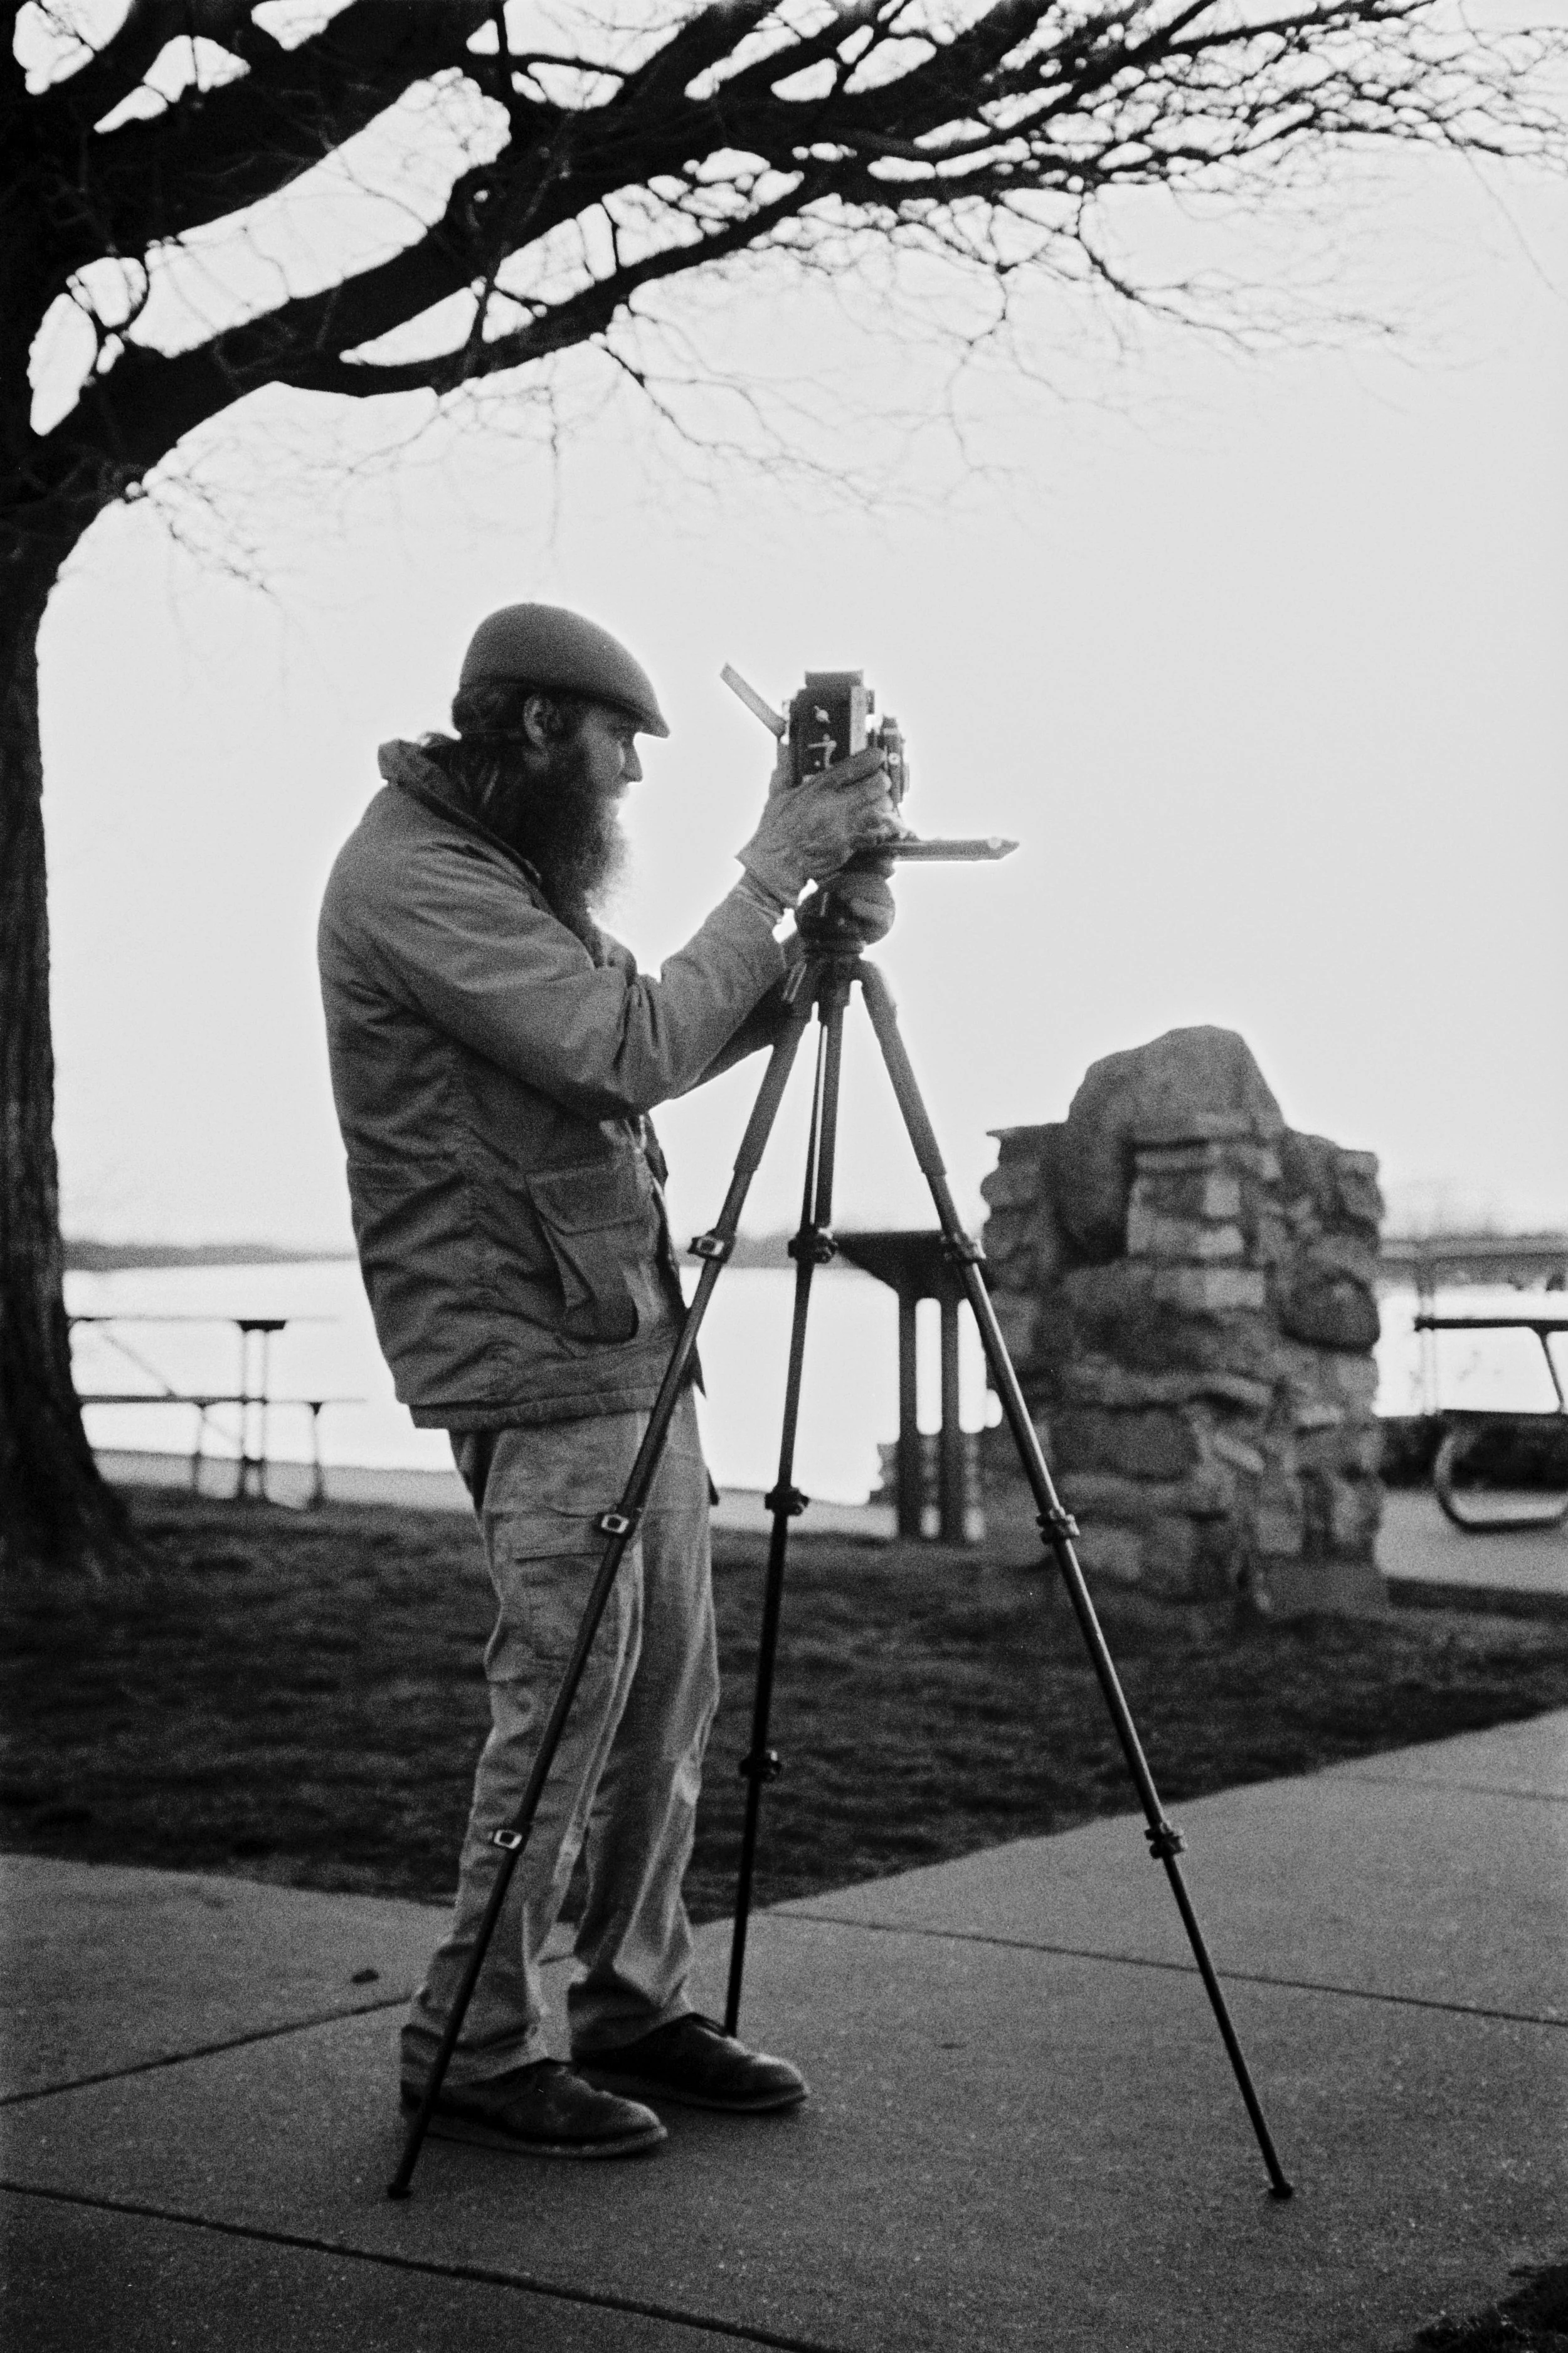
William shooting a 4x5 Graflex N90S 28-70mm f2.8 TRI-X 400
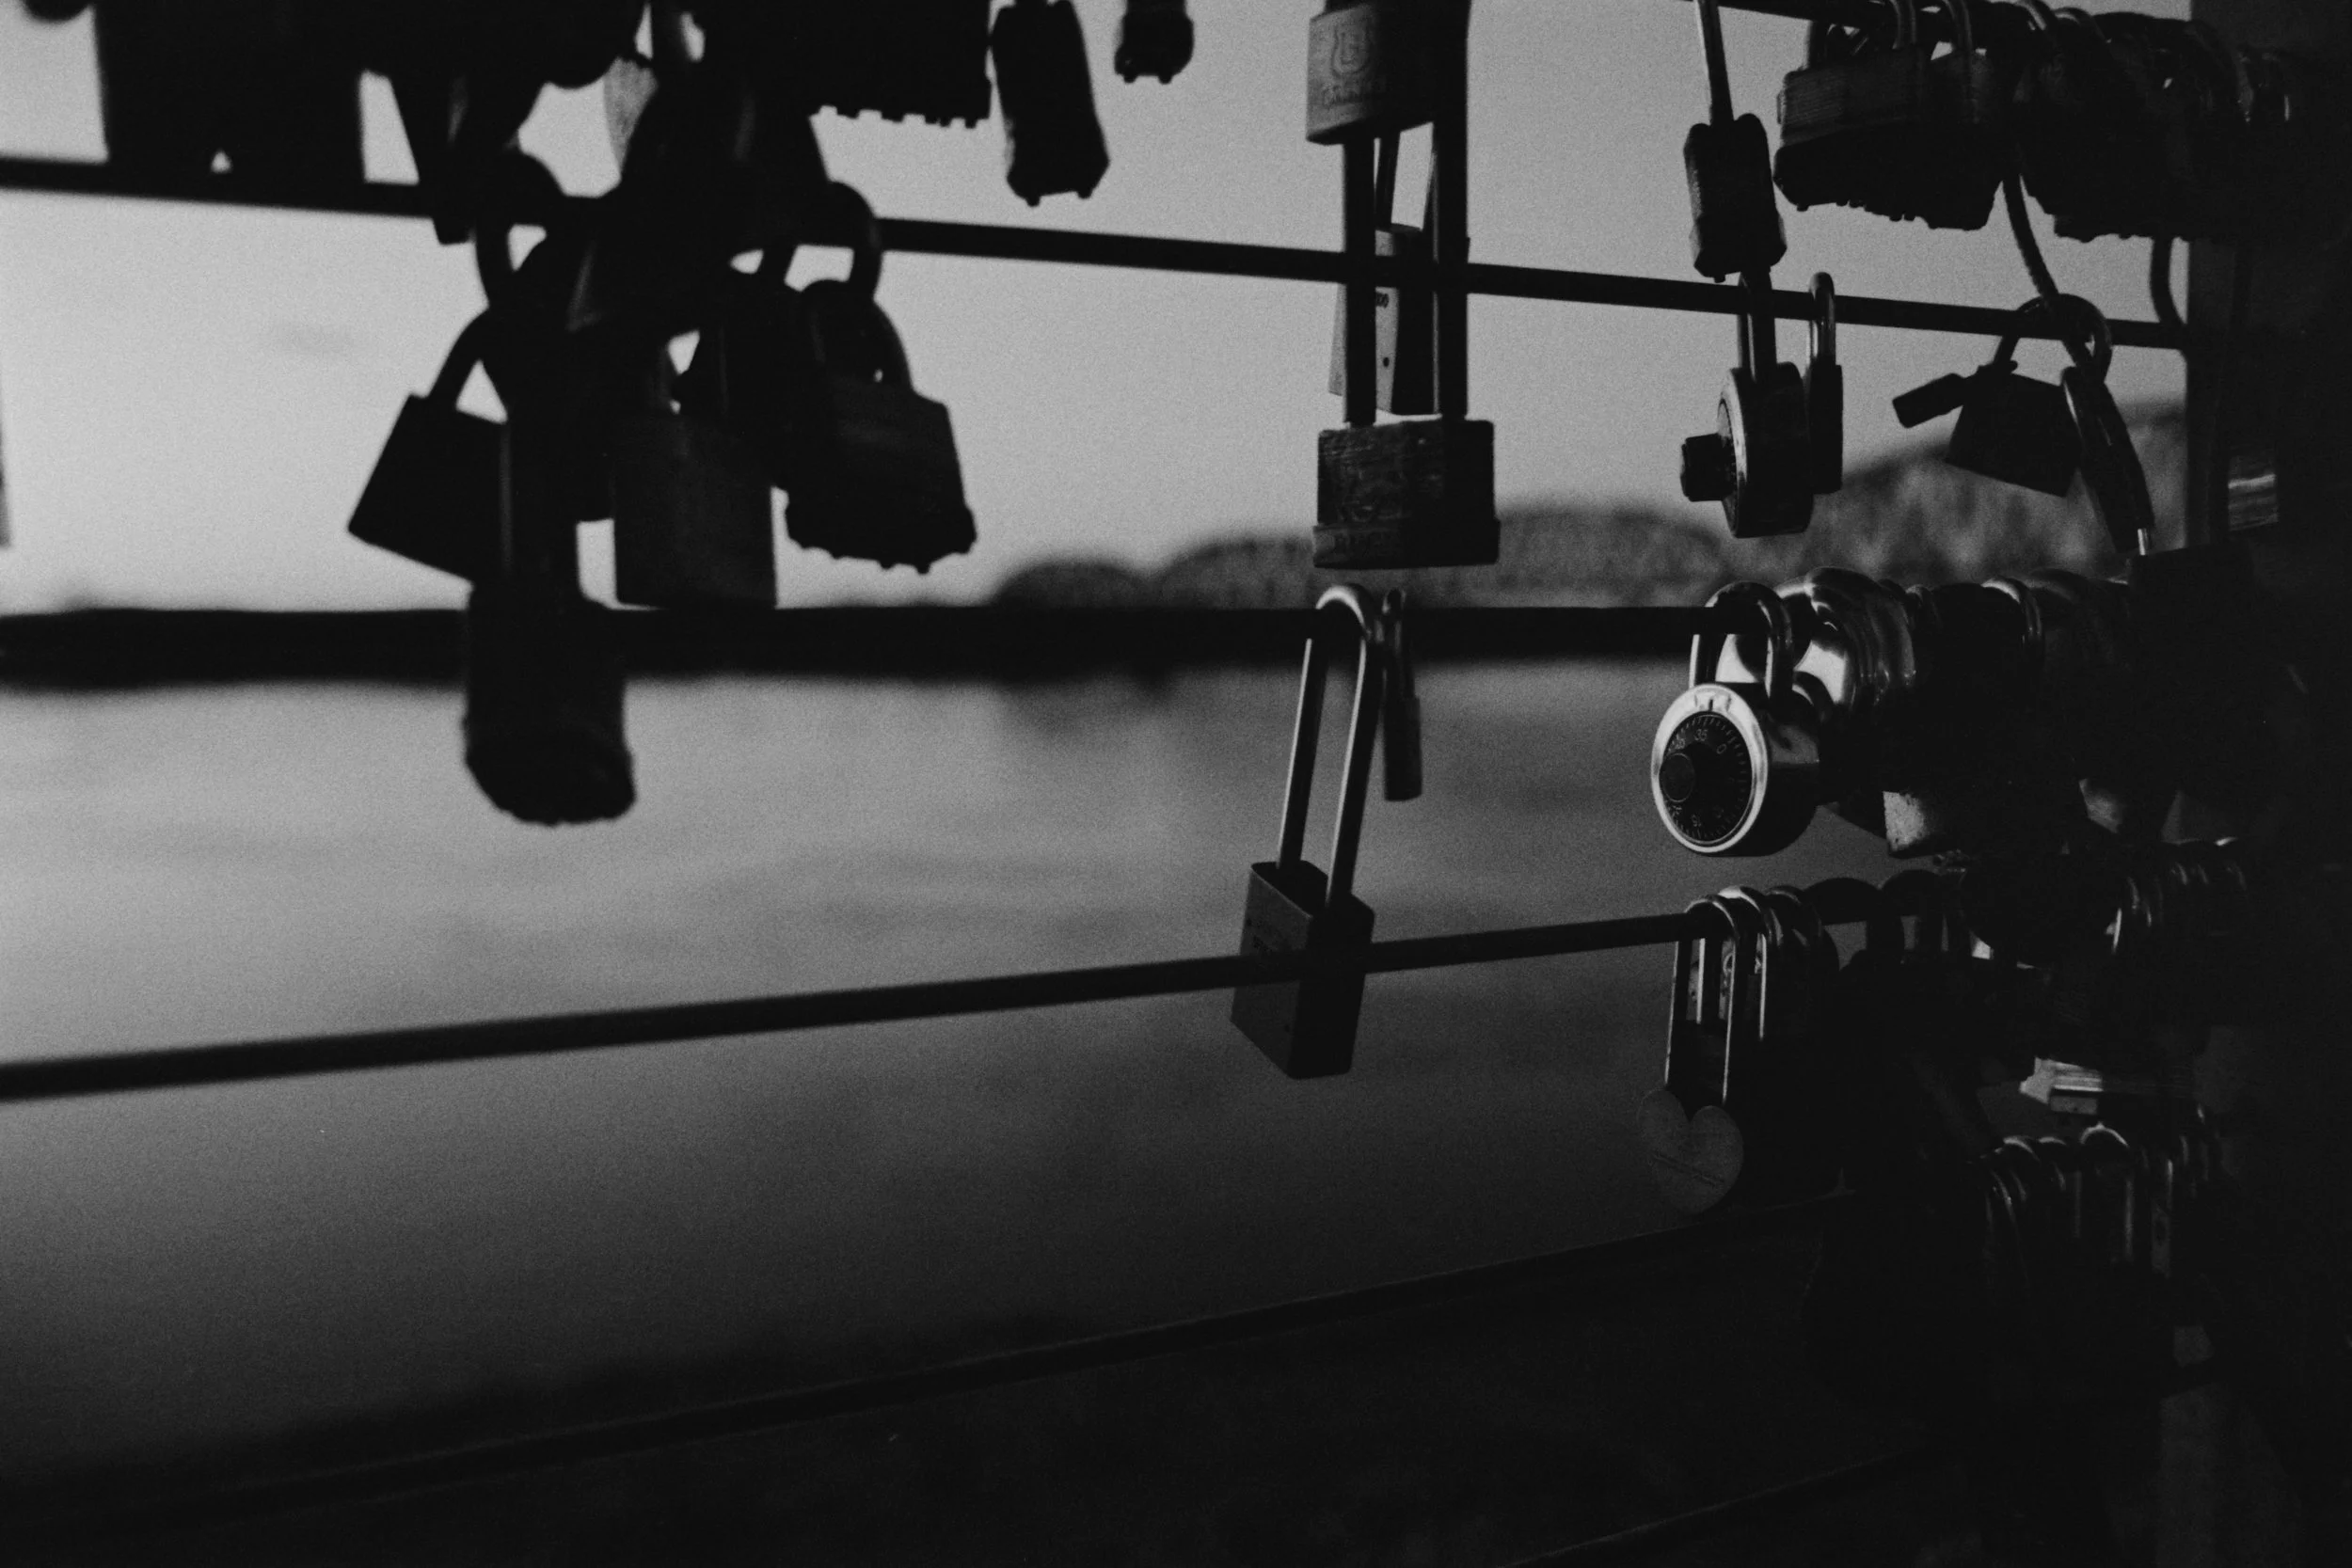
Locks hanging from a had rail at the Henderson Ky river front N90S 28-70mm f2.8 TRI-X 400
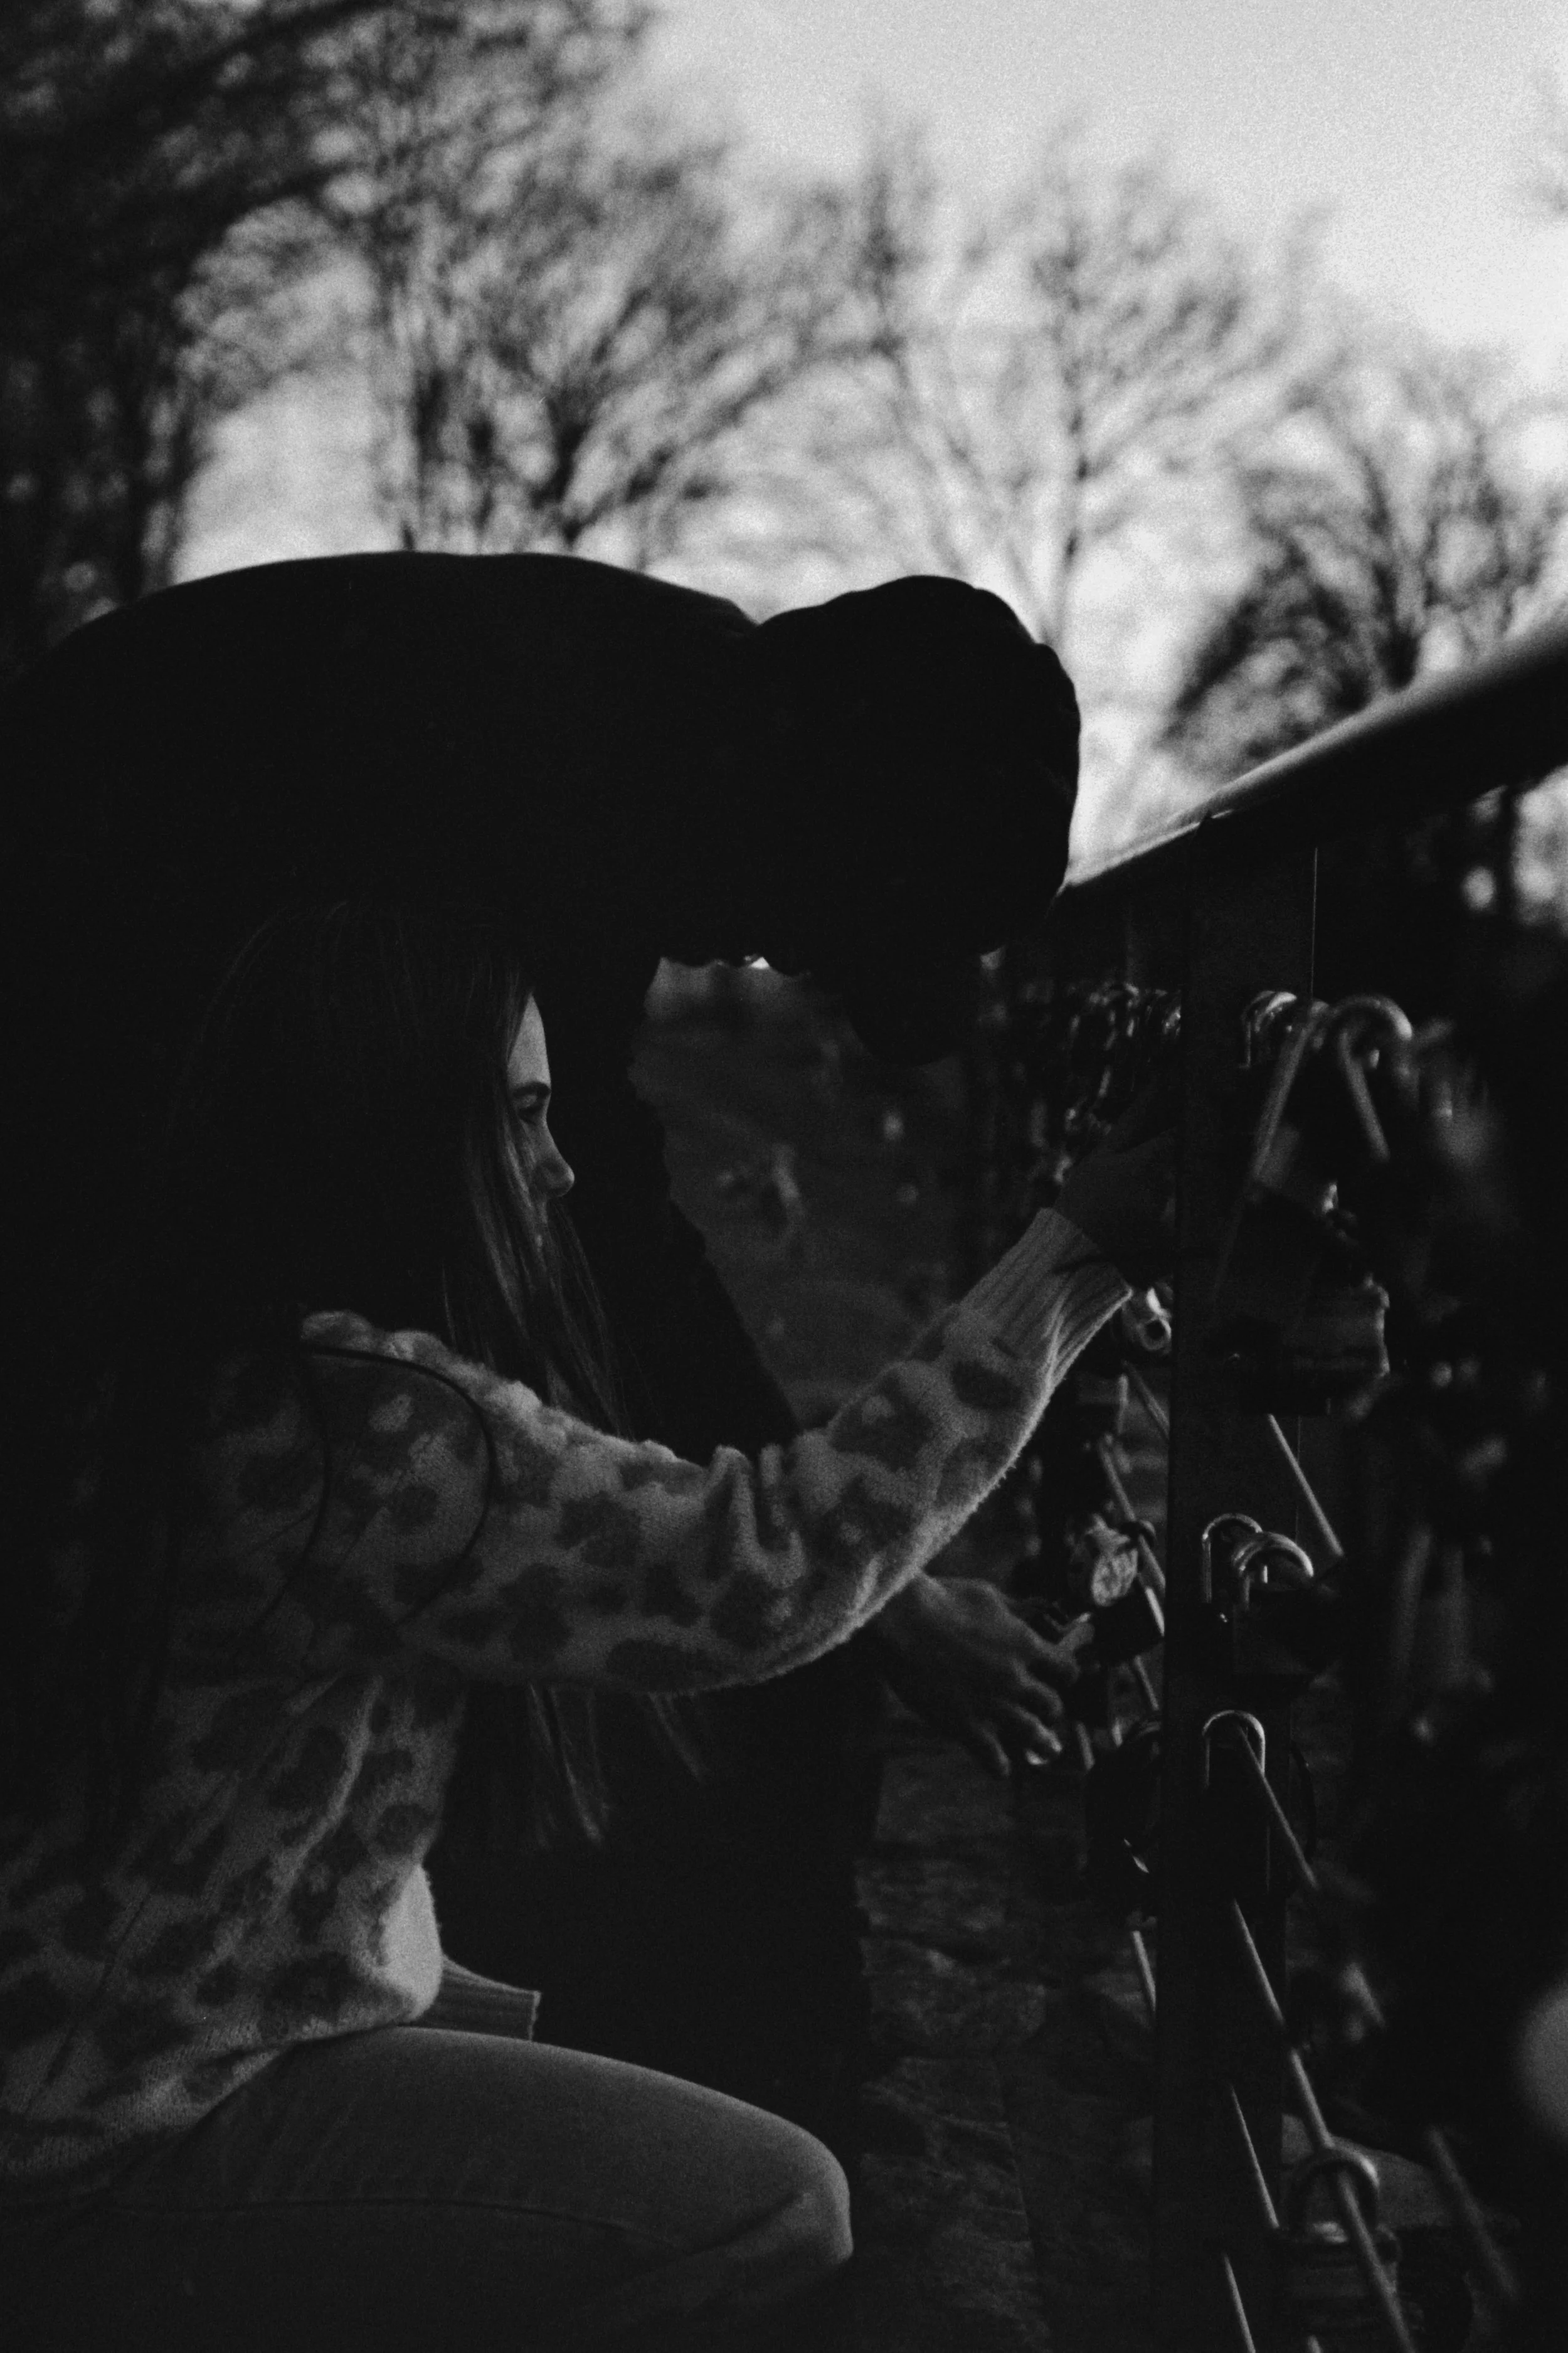
A couple search for their lock at the Henderson Ky river front N90S 28-70mm f2.8 TRI-X 400